Monday, February 13, 2012

Valentine's Hearts

What better way to say Be Mine than with cake and everyone's favorite Valentine Conversation Hearts. I wanted this cake to celebrate the girliest holiday of them all inside and out. So when you cut out a slice you will reveal a bright pink strawberry cake. What a fun surprise! 


The great thing out this festive cake is that no special tools or tips are required. All you need to wow your valentine is the following:

  • One box strawberry cake mix
  • One can vanilla frosting
  • One 6" cake pan (Baking tip: when trying to fit a whole cake mix into such a small ban, line the edges of the pan with notebook paper and leave an extra 2-3'' above the edge of the pan. This extends the height of your pan, allows the cake to rise evenly, and prevents the batter from spilling over the edge.)
  • 6 boxes of Conversations Hearts (You will only use about 5 boxes worth but have the extra allows you to pick and choose the best looking one to put on your cake.)
  • 2 candy sticks or skewers
  • An 8" piece of ribbon
  • Glue 
  • Construction Paper 
  • Scissors
  • Markers
Don't worry the last few items don't get baked into the cake, those are just for making your Be Mine banner cake topper.


Show 12 of your favorite sweetheart how much you love them by inviting them over to share a piece of this sweet treat. 

Happy Valentine's Day!

Sunday, February 12, 2012

Toffee Ganache


This cake was for my brother-in-law's 35th birthday. When we were brainstorming about what to do for his cake, he kept referring back to Dad's birthday cake and how much he liked it. (This is the Big D's Birthday cake that was an earlier post on my blog) Well, I wanted to make it unique for him so I tweaked it just a little. 

His favorite cake is yellow with chocolate frosting, but he also really like toffee so I combine all of those into a few rich layers. Each tier of the cake was torted into 3 layers of yellow cake separate by a layer of rich chocolate ganache and toffee bits. The ganache was made from scratch and chilled over night to help hold it's form as a filing and not squish out the sides under the weight of the different layers. Then a generous layer of toffee bits were add and another layer of yellow cake. 

The frosting was a coco buttercream enhanced with a slight toffee flavor and colored two shades of brown for contrast. The decoration technique is a really fun one to do. You create a vertical line of frosting dots and  the with the back side of a spoon, slightly push down and drag to the right. You then place your next row of dots over the "tails" of the previous row and repeat. When finished, it creates a beautiful layered look that is clean and classic. 

The 35 was added as the finishing touch to honor Seth's big birthday. I poured white chocolate into an oval cookie cutter and let in harden. When the chocolate was firm, I smoothed it by scrapping off the imperfections with a smooth metal spatula in long sweeping motions that started and stopped at each end of the shape. I didn't want there to be any grooves which is why I did not us a common kitchen knife with a serrated edge. I then used my leftover frosting from the bottom tier and piped on a 35 and  a dotted border. The chocolate piece itself was adhered with a healthy amount of the tan frosting from the top tier so the heavy chocolate piece would not slide off the side of the cake. 

I am soooo happy with how this cake turned out and most importantly...the birthday boy loved it too! 

HAPPY BIRTHDAY SETH!!! 

Red Velvet

Threw together this birthday cake for a friend and in the interest of time, I kept the techniques really simple. I used a cake mix and store bought frosting because I didn't have the time to make anything from scratch. 

Because I didn't want to spend hours on small details like normal, I picked a design wouldn't take me a lot of time to execute. I slapped on a layer of icing and used and icing comb to create the grooves. I then cover the bottom half with mini chocolate chips. Both of these techniques are very forgiving and allow a lot of imperfection in the way it is frosted. The frosting garnish is done by using a twisting motion with a drop flower tip. Like the cupcakes, this is a relativity easy cake to do if you have the right tools. 

Cupcakes

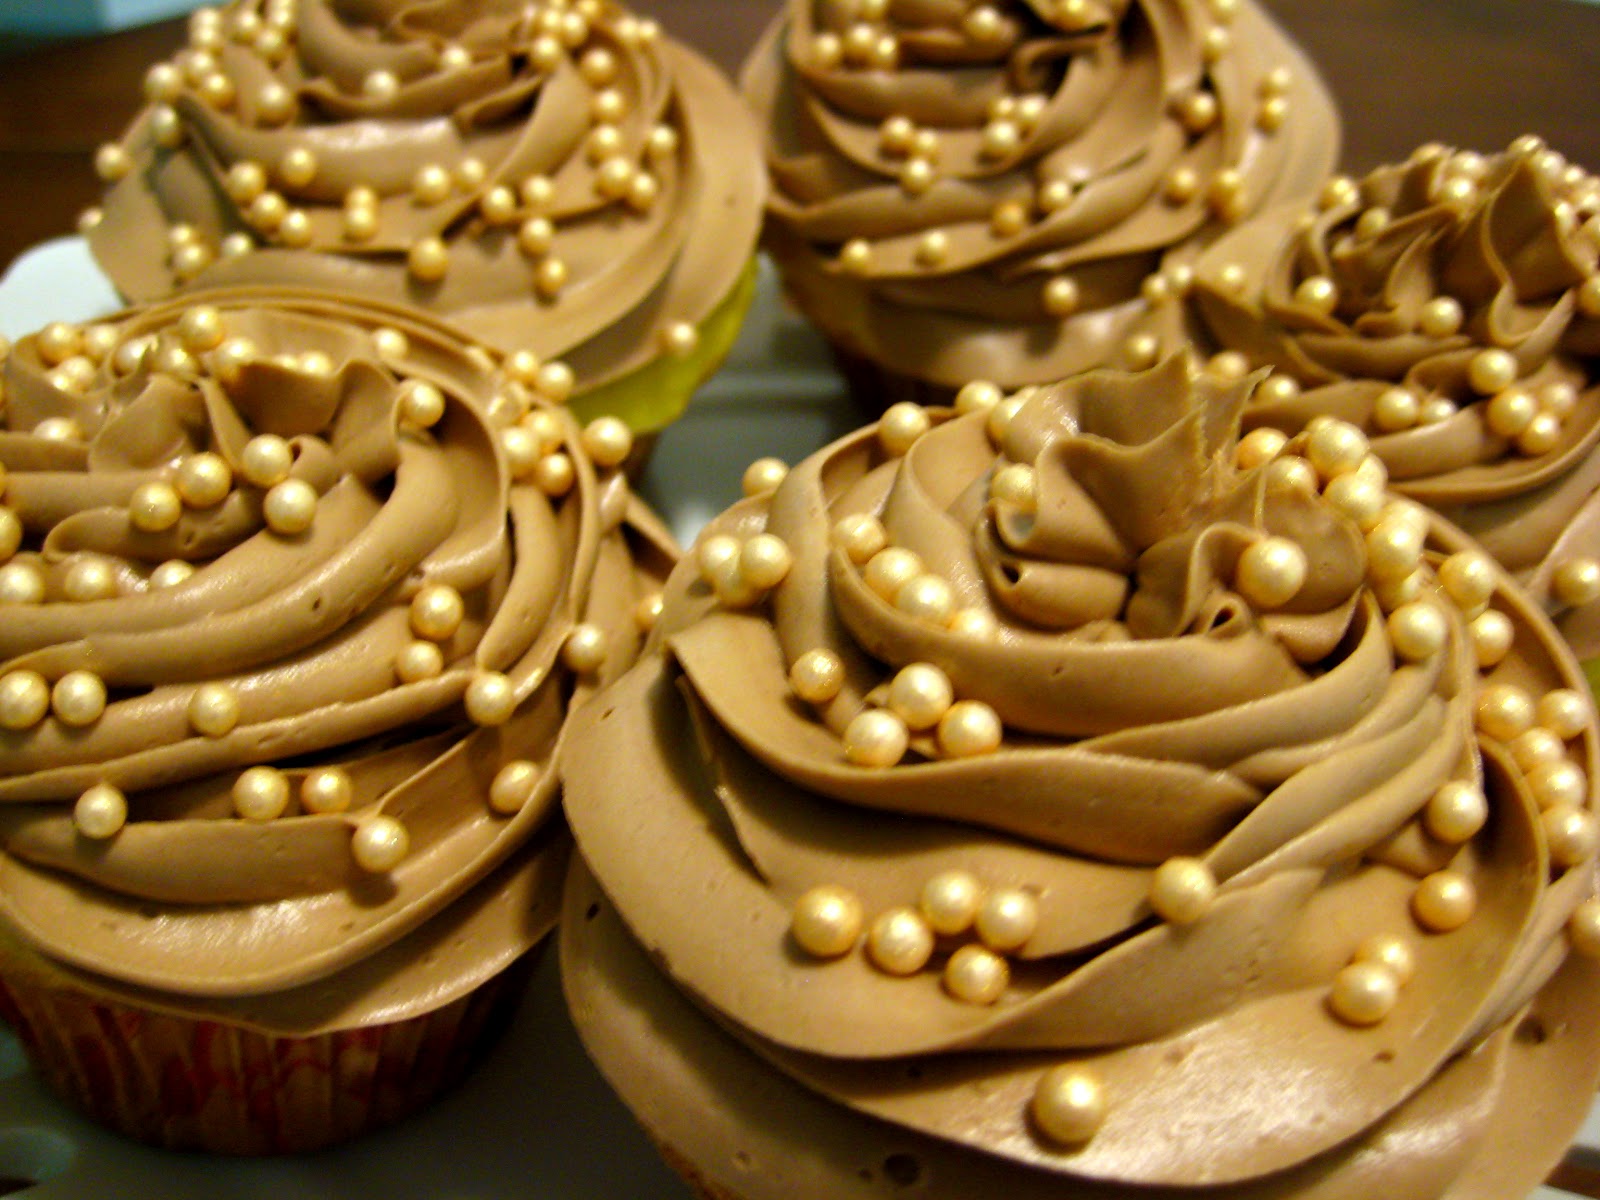
Nothing too special about these cupcakes. I wanted a cute way to use some of the extra sprinkles from my pink Champagne cake and came up with these little treats. It's yellow cake with coco frosting and swirled with a number 2D tip.

This was so easy any one could do it. Prep, baking, and decorating took me less than an hour, so also great if your running low on time and need to whip together a dessert. I have always said a good cake tip is all you need to be an impressive decorator. 

Saturday, January 28, 2012

The Mad Hatter


This cake was for my roommate's mad tea party birthday. She is a little mad in the best sort of way so this was the perfect cake for her. 

To create the hat I stacked 9", 8", and 6" cake rounds on top of each other and carved them down to get the tappered hat. I then rolled out foundant to create the rim. The 10/6 card is made of royal icing that I let dry and harder so that it would stand up and out away from the cake slightly. The tea cup and dormouse are also completely edible and molded out of dyed foundant. 

It looks relatively simple but you would be surprise how much time goes into even basic shapes and designs. I always know when the cake is finished becuase I start involuntarily jumping up and down and yelling, "AHHH! I love it, love it! EHHH!" Haha. There is nothing better than a finished cake that turns out just how you imagined. 

Monday, January 23, 2012

The Big Apple


My good friend Crystal is leaving for her mission to New York, New York South on Wednesday and after taking my own trip to New York this week I had lots of inspiration. I thought she should "Start spreading the news" with a cake just for her before she set off for the Big Apple!


The cake was baked in two separate pieces to create the apple shape. I then frosted it with three different shades/layers of red and piped a stem, leaf, and New York City Skyline to finish it off. I also printed an area map of where she will be living in New York and cover the cake board with it so the giant apple could be the "You Are Here" symbols for her new city:)

Saturday, January 07, 2012

Pink Champagne

Happy  Birthday Camille and Mary! The girls threw a Mocktail party so I though I would keep with the theme. It is chocolate cake with champagne frosting, tinted sugar beads which are supposed to be the fizzing bubbles of the drink, and of course some virgin pink champagne holding up the top tier. Everyone loved it and it was a great night! Thanks for having a birthday girls.. I sure love you guys!